
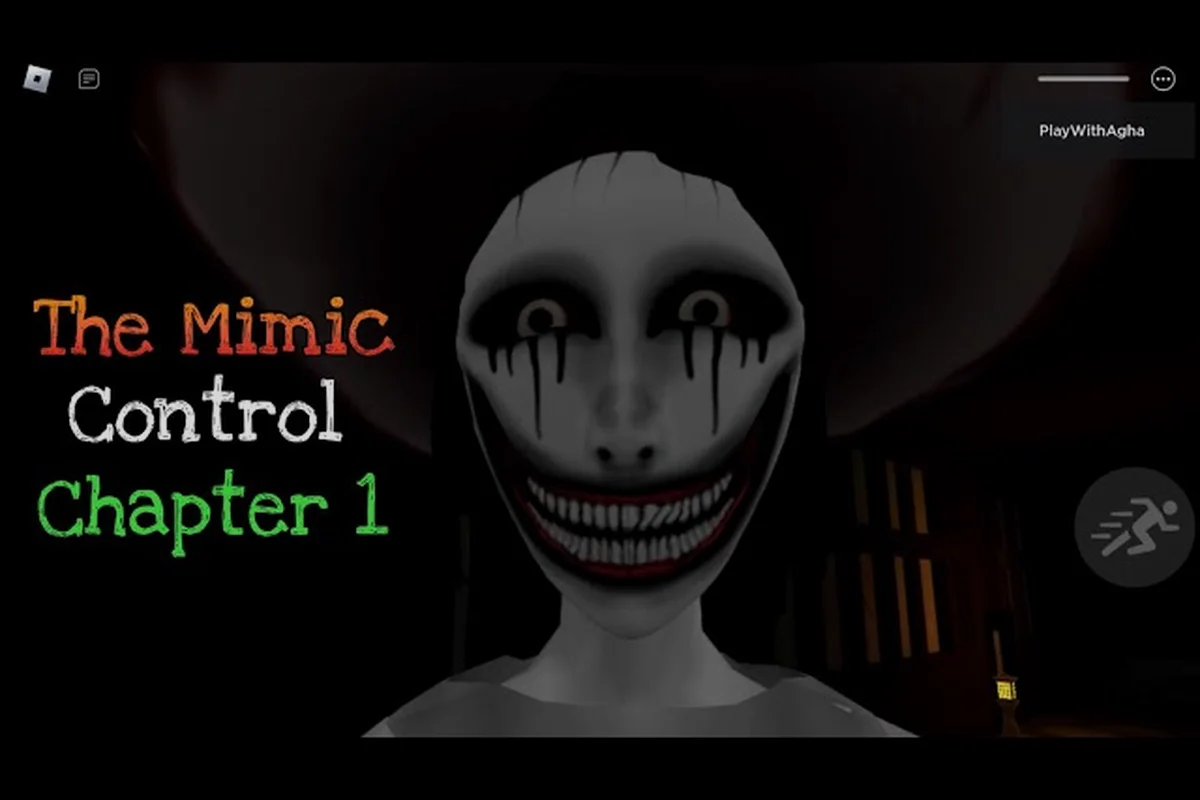
Completing The Mimic Control Chapter 1 is easier when every objective, key, and locked route is handled in a safe order. Follow this guide to reach the School, survive the opening encounters, and finish the chapter without wasting time backtracking.
Control Chapter 1 Overview and Required Objectives
Control Chapter 1 opens with arrival at The School, where the objective chain introduces basic exploration, key collection, locked-door navigation, and survival against mimics. According to community data in The Mimic Chapter 1 reference, the chapter is built around reaching the School, locating required keys, unlocking doors, surviving early mimic encounters, and reaching the exit. That makes a deliberate route more valuable than running blindly through every corridor.
The exact objective wording can change with updates, so use the current on-screen task list as the authority. The community overview should be treated as a route guide rather than a substitute for the live objective marker. If your game displays a different task, follow that prompt and map it to the corresponding step below.
| Required task | What to do | Key detail |
|---|---|---|
| Arrive at The School | Follow the main objective marker into the opening area | Confirm every required marker is active before exploring |
| Search the School | Check classrooms, hallways, and connected rooms | Look behind furniture and inside small side areas |
| Find the required key | Inspect interactable objects and nearby rooms | The key may be separated from its door |
| Unlock the blocked route | Return to the locked door with the correct item | Do not search randomly after collecting it |
| Survive mimic encounters | Move carefully, use corners, and change routes | Sound and sight can reveal your position |
| Reach the chapter exit | Follow the final marker after the last task | Check for missed interactables beside the exit |
The safest progression is to clear nearby rooms first, collect the key, then activate the relevant objective. This order reduces backtracking and prevents a mimic from trapping you in a dead-end corridor. For a broader view of chapter order and related routes, consult The Mimic chapter walkthrough.
Best order for the opening route
Begin with the objective immediately available after arrival. Search the accessible school rooms before approaching a mimic, because early exploration establishes which exits remain usable. Community reports consistently emphasize finding keys and unlocking doors as the central progression loop, so treat each locked route as a clue about the next task rather than as an isolated puzzle.
A reliable sequence is to begin at the first objective marker, then work through the accessible school rooms in short loops while checking every interaction prompt for keys, notes, and door states. For example, if the route to the science wing is blocked, inspect the nearby classroom and corridor first instead of triggering the mimic prematurely; this preserves your return path and helps reveal whether the next objective depends on a specific key or a newly opened exit.
-
Enter through the main route and identify the first objective marker.
-
Sweep the nearest rooms without rushing into open corridors.
-
Collect interactable items while keeping the key highlighted in your inventory.
-
Unlock the matching door as soon as the task requires it.
-
Clear the next area before the mimic can close off the return path.
-
Follow the updated marker rather than repeating earlier rooms.
What to check before leaving a room
Inspect desks, cabinets, shelves, corners, and doorways before moving on. The opening chapter can punish hasty exits because a locked route may sit behind an obvious but easily missed interactable. Check the room you just entered, the room you just left, and the wall beside a locked door; these three checks cover many wasted searches.
| Search location | What may be there | Priority |
|---|---|---|
| Classroom desks and cabinets | Keys or objective items | High |
| Hallway side rooms | Route-changing items | High |
| Corners behind doors | Missed interactables | Medium |
| Decorative shelves | Optional or required objects | Medium |
| Locked-door vicinity | Clue to the required key area | High |
Do not assume that every collectible advances the mission. Required objectives use the active marker or task prompt, while optional items may reward exploration. Collect what you can identify, but prioritize the item named in the current task before opening distant routes.
Control Chapter 1 Key Locations and Locked Doors
Keys create the main pacing problem in Control Chapter 1 because searching every room at once is slow and noisy. The community Chapter 1 reference identifies key hunting and door unlocking as central mechanics, yet it does not guarantee the same placement in every current build. Therefore, search by environment and revisit nearby rooms if the expected door does not react to the wrong key.
| Checkpoint | Search priority | Route decision |
|---|---|---|
| First School section | Classrooms and cabinets | Open the nearest useful exit first |
| After first objective | Connected halls and side rooms | Avoid the largest open intersection |
| Key collection point | Interactables near the active marker | Return directly to the named door |
| Locked-door area | Small rooms around the door | Check one adjacent route at a time |
| Post-unlock section | Newly opened rooms and stairways | Continue the final objective marker |
If a door does not open, confirm three things: you have the correct key, you are interacting with the correct door, and the door is not merely closed until another objective is completed. Players have reported mismatched assumptions about all three, especially when the chapter contains more than one lock. A failed interaction is useful information because it tells you which route should not be pursued yet.
Reading the map without revealing your position
Stop at room entrances and view the map from cover. The chapter’s early threat becomes much easier when you avoid standing in a doorway after opening it. Doorway camping looks tempting because the exit is visible, but it also gives an approaching mimic a clear line and only one escape direction.
Use a three-step routine before every opened door: first, pause outside the threshold and watch the minimap from cover; second, listen for footsteps or dragging that may indicate the mimic is close; third, prepare to retreat along your entry path if the room is occupied. This prevents the mimic from cutting off your only escape route while keeping the Chapter 1 office corridors safer to clear.
-
Look through the opening without standing directly in front of it.
-
Check the nearest corner for movement or a changed camera angle.
-
Enter with a wall at your side, then rotate only after confirming the room is clear.
The same technique helps when the route requires you to backtrack for a key. For example, after collecting a key from a side room, retracing the corridor while watching the minimap can reveal whether the mimic has changed direction, closed a doorway, or moved closer to the return path. Because the mimic can reposition while you are away, avoid assuming the route is still safe. Review the broader The Mimic chapter 1 solo route for techniques built around safer movement and difficult runs.
Common door mistakes
The most common mistake is carrying the correct key to the wrong door. Another is opening a route without checking the space beyond it. A third is spending so long in one search area that a mimic reaches the corridor. Avoid these by checking the objective text, the door prompt, and the area behind the door in that order.
| Mistake | Consequence | Better approach |
|---|---|---|
| Trying every nearby door | Noise and wasted time | Match the key to the task prompt |
| Standing directly in a doorway | Easy ambush angle | Enter from the side |
| Leaving the key behind after unlocking | Unnecessary return trip | Confirm the door opens before moving on |
| Ignoring adjacent corridors | Missed objective room | Check one branch at a time |
| Sprinting through every hall | Greater mimic detection | Walk when visibility is poor |
Safe Mimic Evasion Strategies for the School
Control Chapter 1 tests observation more than raw speed. The School provides corners, classrooms, and repeating sightlines that can be used to break pursuit, but only if you avoid sprinting through exposed crossings. Community walkthroughs emphasize objective order and mimic dodging as the two pillars of a clean run, which supports a cautious route through unfamiliar interiors.
| Situation | Safe action | Why it works |
|---|---|---|
| Mimic visible ahead | Stop behind cover and change direction | Breaks its direct approach |
| Mimic behind you | Use a doorway or side room | Restores distance without a blind sprint |
| Wide intersection | Move diagonally along the wall | Limits exposure on both sides |
| Empty classroom | Use the desks as cover | Prevents a clear pursuit line |
| Repeated hallway | Alternate route after a pause | Disrupts a predictable chase pattern |
| Objective marker visible | Clear the surrounding corner first | Stops you entering a trap |
Corner checks are the core survival habit. Before rounding a corner, pause just outside the visible line, listen for movement, and use your camera to inspect the wall area. If a mimic appears, step back rather than crossing its line of sight. This gives you time to turn toward an alternate exit.
Break sight instead of racing toward the exit
Running directly away from a mimic often reduces your control over the route. A better response is to place solid geometry between you and the threat. Move laterally around a corner, enter a room with multiple exits, and wait until the mimic changes direction before crossing back into the corridor.
Do not repeatedly sprint around the same corner. That creates a predictable pattern, and a pursuing mimic can catch you during the turn. Change pace, stop behind cover, and choose a different branch. Distance without cover is less useful than a short path protected by walls.
Keep objectives active during evasion
You do not need to activate every nearby interactable while being pursued. Locate the required marker mentally, preserve your route, and finish the encounter first. Once you regain control, return to the closest objective that remains active. This prevents a chase from turning into a long, unstructured search.
| Priority during danger | Action | Benefit |
|---|---|---|
| First | Get out of the mimic’s sightline | Stops immediate pursuit |
| Second | Reach a room with another exit | Prevents corner trapping |
| Third | Wait for the threat to pass | Preserves health and stamina |
| Fourth | Return to the nearest active task | Restores progress |
| Fifth | Complete optional searches | Prevents unnecessary risk |
The full Chapter 1 gameplay walkthrough provides a broader look at movement patterns and chapter endings, while this Control-focused route concentrates on the opening task chain and its locked doors. For example, if the Mimic interrupts an active objective, keep the marker visible mentally and use a room with a second exit to break its pursuit; after the threat passes, return to that same objective before investigating optional interactables. This ordering preserves Chapter 1 progress and prevents the mimic’s detection state from forcing a restart.
Control Chapter 1 Route Checklist and Objective Order
A checklist is most useful when it describes decisions rather than listing every clickable object. Start from the objective marker, clear the nearest room, search around the indicated door, and only then move deeper into the School. This route works because it keeps the player near the mission while reducing the chance of opening a door into an active mimic.
| Step | Action | Completion signal |
|---|---|---|
| 1 | Reach The School | New objective appears |
| 2 | Follow the first active marker | A search or interact prompt appears |
| 3 | Inspect the marked room | Required item appears in inventory |
| 4 | Locate the matching locked door | Door interaction becomes available |
| 5 | Unlock and clear the new area | Next objective becomes active |
| 6 | Survive the first pursuit | Mimic loses the player or is avoided |
| 7 | Follow the final marker | Chapter exit becomes accessible |
| 8 | Enter the exit | Chapter completion screen appears |
Verify every task before the exit
When the exit becomes available, stop and review the complete objective list. Some players may reach the doorway with an optional interaction or an earlier search still unresolved. Compare the current screen against the chapter summary, then inspect nearby classrooms if anything remains incomplete. This prevents an avoidable reset and is especially valuable on Nightmare difficulty.
The chapter also establishes Control’s broader story sequence. If you want the narrative context after finishing, Control’s Book summary explains the book’s role without replacing the gameplay guide. For the next story route, keep The Mimic Control Chapter 2 walkthrough ready for when the Chapter 1 exit triggers the following segment.
A compact route for experienced players
Experienced players can reduce exploration time by working in concentric rings around the objective. Search the marked room, then its immediate neighbors, then connected hallways. Avoid entering distant wings until the local route is complete. This approach prevents the common mistake of collecting a key that would have been found two rooms earlier.
| Route style | Best use | Tradeoff |
|---|---|---|
| Objective-first | Speedrun or replay | May miss optional secrets |
| Room-by-room search | First completion | Takes longer but reduces backtracking |
| Key-focused | Experienced players | Requires remembering item clues |
| Danger-first | Nightmare attempts | Preserves health but may delay progress |
The main objective in The Mimic Control Chapter 1 how to complete is simply to maintain forward progress without losing control of the route. Choose the method that matches your goal, but keep the key loop and door-opening checks consistent.
Common Mistakes, Recovery Steps, and Chapter Completion
Most failed attempts come from rushing, not from missing an unusually obscure mechanic. The chapter’s early tension encourages players to sprint between markers, yet sprinting expands your threat radius and removes the chance to notice a mimic near a doorway. Slow down whenever you enter a new sightline, especially after unlocking a door.
| Symptom | Likely cause | Recovery step |
|---|---|---|
| Key inventory is empty | Wrong interactable or missed search | Revisit the marked room and inspect cabinets, shelves, and corners |
| Door does not respond | Wrong key or unfinished task | Re-read the prompt and verify the required item |
| Mimic blocks the only route | Unsafe doorway entry | Use an adjacent room and approach from the side |
| Objective marker is missing | Mimic threat or missed interaction | Break sight, then return to the last completed task |
| Exit is unavailable | Optional task remains active | Review the objective list and nearby side rooms |
| Progress feels circular | Repeatedly searching distant rooms | Work outward from the last confirmed marker |
Recover from a lost route
Stop moving as soon as you lose the objective marker. A mimic may have interrupted your view, or the relevant interaction may sit just beside the current position. Reload the map, find the nearest previously completed marker, and compare that location with the current task. This reverse-navigation method is usually faster than continuing randomly through the School.
If a chase begins, prioritize a line-of-sight break over reaching the objective marker. Once the mimic loses direct vision, return along the safest available path. Do not push through another open area merely to shorten the distance; the longer route around a corner can be safer than the direct crossing.
Final verification checklist
Before leaving the School, confirm that the key was used, the locked route is open, every named objective is complete, and the final exit can be activated. Walk through the last classroom only if the task list suggests something may remain there. Saving once these checks are complete prevents losing progress to an avoidable encounter.
If you are preparing for the following chapters, the locked keyword set provides the sequence: The Mimic Control Chapter 3 walkthrough covers the middle chapter, The Mimic Control Chapter 4 walkthrough covers the fourth, and The Mimic Control finale points toward the closing sequence. Meanwhile, The Mimic Control final chapter can help distinguish the final mission from earlier Control chapters.
Frequently Asked Questions
What is the fastest way to finish The Mimic Control Chapter 1?
Use the active objective marker, search only nearby rooms, collect the required key, and immediately unlock its matching door. Avoid distant corridors until the local objective is complete. The fastest route balances short travel distances with careful corner checks, because a chase can erase more time than a brief detour would save.
Where should I look for the first key in the School?
Search the classroom and hallway areas around the first objective marker, including cabinets, desks, shelves, and corners near locked doors. Community data confirms that key hunting is part of the chapter’s main progression, but placement may change with updates. If the key is not near the first marker, check adjacent side rooms before searching the entire map.
What should I do when a mimic blocks the exit?
Do not sprint through the doorway or stand in the opening. Move into a room with another exit, place a wall between you and the mimic, and wait for it to move before crossing the corridor. Return to the active marker afterward. This recovery method protects health and prevents you from abandoning the task completely.
Is the chapter exit available after collecting the key?
Not always. Collecting a key normally unlocks a route or satisfies a door-related objective, but the exit may still require earlier searches or mimic encounters to be completed. Review the current task list before entering the exit. If an item remains marked incomplete, inspect the nearest side room and the area beside the locked door.
Does Control Chapter 1 unlock the next Control story chapter?
Yes, finishing the chapter’s required objective chain and reaching the exit advances the Control story into its next segment. After completing it, use the The Mimic Control Chapter 2 walkthrough to prepare for the next objective order. For the opening path, remember that keys unlock doors, careful corners control pursuit, and every named task should be checked before leaving the School.