
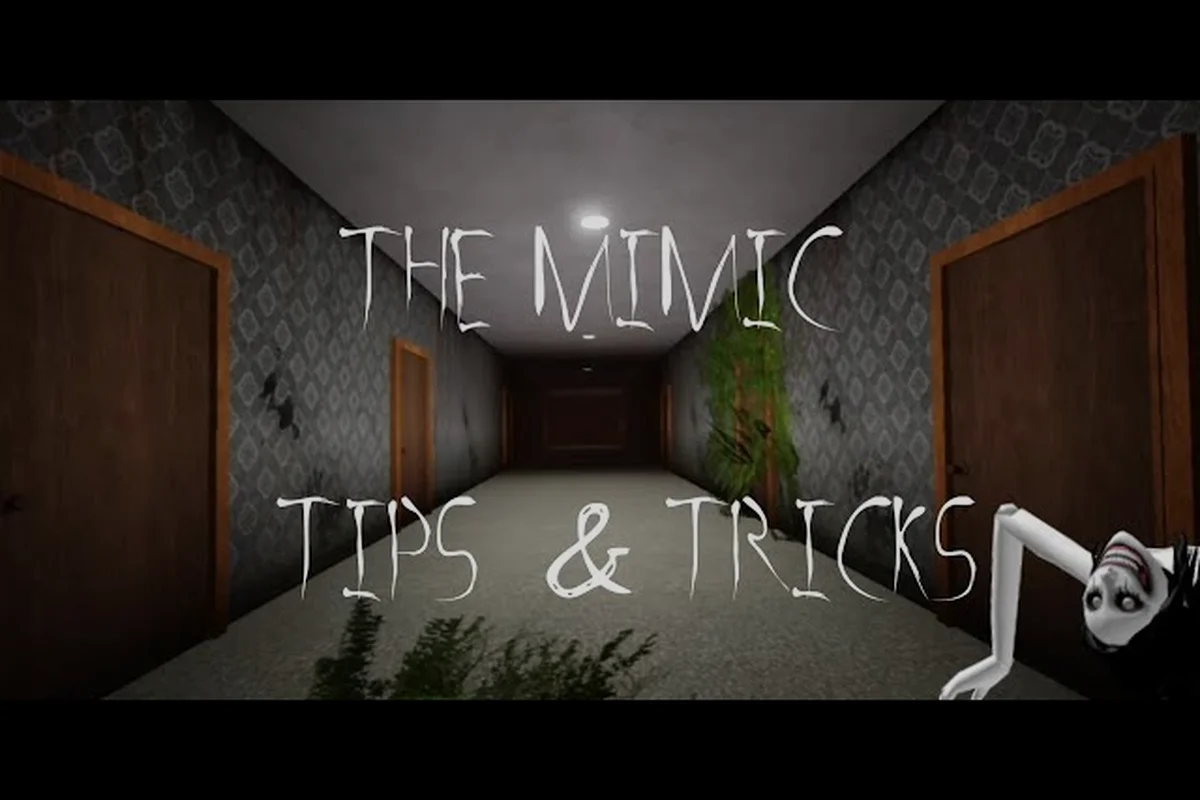
The Mimic chapter 1 objectives matter because each marker, School key, and locked door controls the route through the opening area. Follow the marker chain, collect every reachable item, and use the objective map to finish without backtracking.
The School's opening objective loop: marker, key, and door
The opening objectives follow a clear loop: reach the current marker, retrieve the required key, open the matching door, and advance to the next marker. Community data for the chapter describes the arrival at the School, the need to follow the objective flow, and the requirement to survive the first mimic before reaching the exit. That structure makes The Mimic chapter 1 objectives easier to understand when each door is treated as one step in a sequence rather than an isolated puzzle.
The practical advantage of following this loop is that the objective marker gives you a reliable destination when the School becomes confusing. If you find a key but cannot identify its matching door, return to the marker area and look for a locked entrance near the active objective. Avoid opening unrelated doors early because they can create unnecessary backtracking and may expose you to the mimic before you are ready for the chase.
Objective flow at a glance
| Step | Objective action | What to look for | Result |
|---|---|---|---|
| 1 | Reach the School | The initial objective marker after arrival | The first route becomes available |
| 2 | Find a School key | Key pickups along the active path | The matching door can be opened |
| 3 | Open the locked door | A door displaying the required key type | Access to the next area |
| 4 | Follow the updated marker | The next glowing objective point | The route continues forward |
| 5 | Survive the first mimic | The threat introduced after the door sequence | Progress toward the exit |
What you can collect
The Mimic chapter 1 collectibles should be gathered while you move between objective points, because every pickup is part of the same route. Some items are obvious on furniture or along walls, while others require checking corners and side rooms before leaving. The complete item reference in The Mimic collectibles and items list can help identify objects you may have mistaken for scenery.
A reliable collection rule is to scan every room before opening the next required door. Check beside desks, behind furniture, on shelves, and along the edges of corridors. This method reduces repeated searches later, especially if a collectible is required for a badge or a full completion check. The Nightmare badge requirements also provide useful context for deciding whether missing objects are optional or tied to broader completion goals.
The Mimic Chapter 1 Keys and Their Correct Door Order
The keys are best treated as route checkpoints. Each key opens a specific locked door, and that door leads toward the next marker. In the clearest documented pattern, the objective updates only after the current step is resolved, which means you should not leave the current locked-door puzzle until you have the correct key. This is why The Mimic chapter 1 keys are easier to find when you start from the marker instead of scanning every room indiscriminately.
The key-and-door order is less important than the marker-and-key order. You may see several School doors while moving between objectives, but only the door connected to the active marker should be your current target. If the locked entrance does not open with the key in your inventory, you probably have the wrong door or are carrying the wrong key. Check the objective marker again before searching elsewhere.
Key, door, and action table
| Route item | Interaction | Best search location | Common mistake |
|---|---|---|---|
| First School key | Search near the starting objective area | Desks, shelves, and nearby rooms | Wandering into a side area too early |
| Matching locked door | Use the key at the correct entrance | Door beside the active route | Trying every visible door |
| Next key | Continue toward the updated marker | Rooms revealed after opening the door | Leaving collectibles behind |
| Final locked entrance | Use the last required key | The corridor leading toward the mimic sequence | Entering before checking side rooms |
How to avoid the wrong door
Start with the active marker and trace the path between it and the nearest locked entrance. Doors that do not lead to the marker are distractions for the immediate objective, even if they can eventually be opened. If a key does not work, look at the shape or icon associated with that door and compare it with the key you found. The objective display should still identify the next required step, so returning to it is usually faster than blind exploration.
The broader Chapter 1 community reference is useful for seeing how Control’s opening sequence connects to the later chapters. For Book 3 specifically, the demonstrated marker-to-key-to-door pattern provides a dependable way to confirm that you are progressing correctly instead of repeating completed sections.
A safe search sequence
-
Stand at the current marker and identify the next locked door.
-
Search the nearest room systematically, including surfaces behind furniture.
-
Pick up every relevant key, then return along the same route.
-
Test the key on the objective-linked door only.
-
Open the door and wait for the next marker to update.
This sequence is especially effective when the mimic is nearby, because remaining in one localized area reduces the time spent crossing open spaces unnecessarily.
The Mimic Chapter 1 Doors, Markers, and Navigation
The Mimic chapter 1 doors act as gates between objective areas, while the markers tell you where the next action belongs. The chapter’s route can be understood as a sequence of transitions: arrive at the marker, locate a key, open the matching door, then follow the new marker. That order explains why players can collect several keys and still feel lost if they have not identified which door advances the current objective.
Doors also separate safe search space from danger. A locked door may mark the transition into a more active area, so clearing the room behind you for collectibles can prevent an awkward retreat later. At the same time, opening every door on sight is inefficient because it breaks the objective chain and gives the mimic opportunities to catch you away from the intended path.
Door-status guide
| Door state | Meaning | Recommended action |
|---|---|---|
| Unlocked and open | The route is already accessible | Check for missed collectibles before moving on |
| Locked, key accepted | The current objective is ready to progress | Open it, then follow the new marker |
| Locked, key rejected | Wrong door or wrong key | Return to the marker and confirm the route |
| Opens into a dead end | Optional area or side route | Search only if the nearby room is safe |
| Final route entrance | Leads toward the mimic sequence | Finish nearby pickups and prepare to evade |
Reading the marker chain
The marker is the chapter’s navigation anchor. It may point toward a key, a door, or the next objective area, so its meaning changes as the task advances. When you reach it, pause and check whether a door needs opening or whether a collectible is waiting nearby. This small check prevents the most common mistake: running past an objective because the next room looks more interesting.
For broader location planning, The Mimic Hotel map and chapter locations can help with orientation. The school sequence is easier when you understand how corridors connect and which rooms are likely to be dead ends. If you are preparing for a later route involving the shipwreck, also note the community reference for The Mimic chapter 3 shipwreck; the same marker-first habit helps prevent confusion across chapters.
When you lose the objective
Stop moving randomly and return to the last marker you remember. If the marker is gone, retrace your steps through the most recently opened door. Check whether a key pickup animation or door interaction happened just before the objective disappeared, since the next marker usually appears only after that action resolves.
| Symptom | Likely cause | Fastest correction |
|---|---|---|
| Marker points back | Previous step was not completed | Collect the missing key or open the required door |
| New marker appears outside the room | Door interaction finished | Follow it immediately |
| Key does not fit | Incorrect door selected | Compare the route from the current marker |
| No marker after opening | Loading or interaction delay | Wait briefly, then retrace the doorway |
| Objective seems repeated | Chapter restart or checkpoint reload | Reload and repeat the current door sequence |
Where Chapter 1 collectibles hide and how to confirm them
The Mimic chapter 1 collectibles are spread through the School areas visited during the objective chain. Because the route repeatedly moves between markers and locked doors, collectible hunting works best as a deliberate pause at each transition. Open a door, enter the next area, scan its perimeter, and only then continue toward the next marker. This avoids a final sweep through the whole School when the mimic becomes more active.
The most commonly missed objects are those against walls or behind furniture because players focus on the bright marker in the center of the room. Look below desks, along the bases of cabinets, and in corners where the lighting is weaker. Community walkthroughs can provide visual guidance, but the item reference in The Mimic item catalog is better for confirming whether an object counts as a collectible.
Pre-exit room checklist
| Area or moment | Check | Why it matters |
|---|---|---|
| Starting School room | Desks, shelves, and wall edges | Contains early-route pickups before the first door |
| Rooms between markers | Corners and furniture backs | Easy to overlook when chasing a marker |
| Newly opened areas | Every visible surface | Avoids repeating the route after a chase |
| Room before final route | Side doors and dead ends | Last chance to collect optional objects |
| Objective completion screen | Collected-item count | Confirms whether a return trip is needed |
Distinguishing keys from collectibles
Keys and collectibles can appear in the same rooms, but they serve different purposes. A key advances the route when used on the correct door; a collectible contributes to completion or rewards. Do not consume, discard, or leave behind a collectible because its appearance resembles a key. Pick up both when uncertain, then use only the item that the locked door accepts.
Completion also depends on whether the required chapter actions were finished, not merely whether the exit was reached. The Nightmare badge requirements can clarify the broader reward conditions, while a careful room-by-room sweep addresses the collectible side of the checklist.
What counts as a missed pickup
A pickup is likely missed if the route visibly changed around it, such as a door closing, the marker moving, or a scripted mimic event interrupting your movement. Look around the last safe corner before such a transition because many optional objects sit in plain sight but outside the player’s forward camera. If a count remains short, retrace only the rooms between markers rather than restarting the entire chapter.
Efficient Objective Completion and Mimic Survival
Efficiency in The Mimic chapter 1 objectives comes from separating route tasks from optional searches. The marker is your route task; nearby side rooms are optional tasks. Complete the current marker and door first when the mimic is active, then use short safe windows to search for collectibles. This balance keeps progress reliable without forcing a risky cross-school run for every optional object.
The first mimic changes movement priorities. While it is active, stay near walls and corners, break line of sight, and avoid running through long open sections. The route toward the exit should be learned before the chase begins because panic often sends players toward a locked door they already passed.
Objective versus exploration
| Situation | Priority | Reason |
|---|---|---|
| Mimic is far away | Search nearby collectibles | The route is stable and extra objects are efficient to collect |
| Mimic is moving closer | Follow the marker | Progress reduces repeated exposure |
| Mimic is chasing you | Head toward the exit route | Direct movement reduces danger |
| Door needs a missing key | Search the nearest connected room | The key is more important than optional pickups |
| Chapter objective updated | Follow the new marker | The next step confirms the route |
Before the mimic sequence
Complete nearby pickups while the area is still quiet, verify that the final key has been collected, and identify the next exit direction. When the mimic appears, turn corners carefully instead of sprinting straight down the first corridor. Use doors as barriers whenever possible, because crossing a doorway can briefly separate you and the mimic.
The documented route in PremiumSalad’s walkthrough video demonstrates the same practical loop: the objective marker updates after the current step resolves. Treat that order as the chapter’s backbone rather than relying on memory of every room.
A clean first-clear plan
-
Follow the first marker and search the starting area.
-
Find the first key and identify the objective-linked door.
-
Open the door, scan the new room, and follow the updated marker.
-
Repeat this marker-key-door sequence without opening unrelated exits.
-
Gather nearby collectibles before the final transition.
-
Survive the mimic and take the exit route to the chapter conclusion.
-
If the collectible total is short, retrace only the marker-to-door rooms.
Frequently Asked Questions
What is the main objective in The Mimic chapter 1?
The main objective is to follow the marker chain through the School: find each required key, open the matching locked door, and continue until the exit route opens. After reaching the final area, you must also survive the first mimic. Community data describes the chapter as a progression through doors, keys, and the opening mimic encounter.
Where should I look for The Mimic chapter 1 keys?
Look near the active objective route, especially on desks, shelves, cabinets, and floors inside rooms leading toward the required door. Keys are easier to locate when you begin at the marker and work through the connected room systematically. Avoid carrying a key to several doors at random, because the marker identifies which locked entrance belongs to the current step.
How do I know which The Mimic chapter 1 doors to open?
Use the route from the current objective marker to determine the correct door. A door should accept the key tied to the current objective step; if it rejects the key, return to the marker and check whether you are at the wrong entrance. Opening unrelated doors can cause extra backtracking and place you near the mimic without completing the objective.
Are all The Mimic chapter 1 collectibles required to finish?
You can complete the chapter by following the key-and-door route and reaching the exit, but optional collectibles may affect completion totals or reward requirements. Scan each newly entered room before moving on, and confirm the item count on the completion screen. If a total is missing, retrace the marker-to-door sections rather than restarting the full chapter.
What should I do if The Mimic chapter 3 shipwreck or the skull maze feels confusing later?
Apply the same objective discipline used in the opening chapter: follow the current marker, search the nearest connected room, and verify that each required key opens the gate tied to that step. The Hotel map and chapter locations can help with orientation. Do not treat every visible passage as active, because the correct route is confirmed by the objective chain rather than appearance alone.
The core takeaway is simple: complete The Mimic chapter 1 objectives by following the marker-key-door sequence, search each room before moving on, and use the route order to stay ahead of the mimic. That approach completes the School route, reduces backtracking, and makes every missing collectible easier to track.