
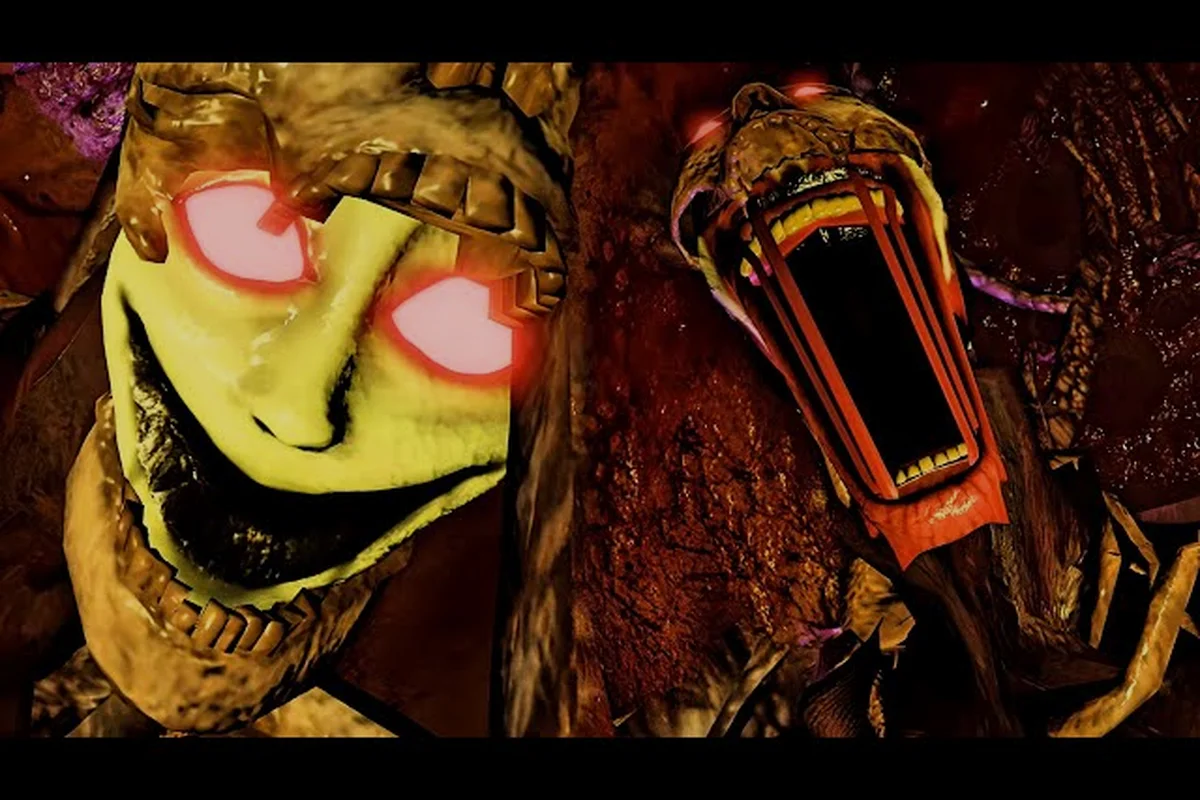
Reading The Mimic Hotel map correctly is what separates a clean chapter clear from twenty minutes of identical-looking corridors. This guide breaks the hotel chapter into distinct route segments—arrival, guest-room wing, service area, and the lower route toward the shipwreck transition—so every landmark and objective room has a purpose. Use the layout cues and room-state clues below to stop backtracking and keep the path to the later Skull Maze and Omukade lair clear.
The Mimic Hotel map: layout and route overview
The Mimic Hotel map is easier to navigate when you treat each corridor as a route between objectives rather than a maze of identical-looking rooms. The hotel chapter connects puzzle clues, locked passages, and later transitions to the shipwreck area, while the Skull Maze and Omukade lair extend the route beyond the main building. This overview gives you the route order, room landmarks, and objective priorities needed to move through the chapter without wasting time on dead ends.
The key advantage is a objective-first route: search the current room, identify the next clue, and only then choose which doorway to open. A complete chapter objectives and key guide can help when a door depends on an item collected elsewhere in the hotel.
| Route segment | Main purpose | Landmark to remember | Next clue |
|---|---|---|---|
| Hotel arrival | Find the first usable route | Reception and the first branching corridor | Initial hotel objective |
| Guest-room wing | Unlock deeper passages | Repeated doors and room numbers | Item or access clue |
| Service area | Reach restricted rooms | Staff passages and utility doors | Key or puzzle solution |
| Lower hotel route | Access the chapter transition | Stairs, storage rooms, and exit markers | Shipwreck route |
| Later maze area | Survive and locate the lair | Skull-lined corridors and branching paths | Omukade lair |
The hotel is not simply a straight corridor. The important distinction is between objective rooms and transition rooms: objective rooms contain something that changes your available route, while transition rooms mainly move you toward another wing. If a doorway leads nowhere useful, backtrack to the last objective room and reread its clues before exploring again.
Reading the hotel chapter layout
The Mimic hotel chapter uses repeated architectural details, so visual memory alone can become unreliable. Identify rooms by their functional cues: an item on a desk, a distinctive locked door, a staircase, or a wall that opens only after an objective. This method is more reliable than memorizing every corridor because the map’s useful landmarks are tied to progression.
Core room groups
Start with the reception area, then identify the guest-room wing, service corridors, and lower-access rooms. The reception area acts as a visual anchor when you return from the service section. Guest rooms contain clues and collectible interactions, while service spaces often provide access to locked routes. The lower hotel route eventually leads toward the shipwreck transition.
| Landmark | Recognition cue | Likely purpose | Recommended action |
|---|---|---|---|
| Reception counter | Large central counter and open lobby | Starting position and route orientation | Check the current objective before opening every nearby door |
| Guest-room doors | Numbered or repeated doors | Clues, key items, and branching access | Search only the room required by the current clue |
| Service corridor | Narrower passage, equipment, or storage | Access to restricted areas | Test locked doors after finding the relevant key |
| Stairwell | Vertical transition between floors | Reaching a new route layer | Record which floor or section you entered from |
| Storage room | Crates, shelves, or maintenance objects | Hidden route or item access | Inspect the far wall and corners |
| Exit marker | Signage, light, or emergency route | Chapter transition | Follow the route only after objectives are complete |
When a room feels familiar, check whether it is genuinely a loop or whether the hallway has a false branch. False branches often end at an interactable object that does not advance the current task. This is why the hotel chapter can create the impression that a route is longer than it is: the actual progression path is short, but the environment contains many optional-looking spaces.
Room-state clues
Doors and passages may become usable after you collect the correct key, solve a room-specific puzzle, or complete an objective elsewhere. If a door remains locked, first compare it with the clue you already found rather than searching every room again. The clue often narrows the solution to a specific room type or object.
A useful tracking system has three columns: known objective, required room, and last unlocked route. Update it whenever you find a new item. This prevents repeated exploration, especially in the hotel’s branching corridors, and keeps the transition to the shipwreck location clear once the chapter’s main objectives are finished.
The Mimic hotel chapter: room-by-room route strategy
A room-by-room strategy works best when you separate search order from escape order. Search order tells you where evidence and keys are likely to appear. Escape order tells you how to return safely once an enemy or dangerous event begins. Mixing the two often causes backtracking through a room you have already cleared.
Start at the reception layer
The opening hotel route should be treated as a controlled introduction. Check reception, nearby doors, and the first objective marker before committing to a distant branch. The route gradually teaches players to interact with highlighted objects and remember doors that need keys. Those early choices also establish the layout you will use during later backtracking.
| Route decision | Why it works | Risk of ignoring it |
|---|---|---|
| Clear the nearest objective first | Creates a predictable sequence of unlockable doors | More random searching |
| Open only the required side room | Keeps key and clue locations organized | Longer searches in later wings |
| Note locked doors | Builds a return checklist | Repeatedly testing doors that cannot open yet |
| Check stair access early | Reveals the vertical structure of the hotel | Missing a faster connection to lower areas |
Search the guest rooms in clue order
Guest-room numbers are less useful than clue order. If an objective points toward a room-related object, prioritize rooms that match that description. If the clue instead identifies a key or access card, search service areas and desks before opening additional guest doors. This distinction makes the guest-room sweep predictable.
Use a three-part loop for every room: enter, inspect the objective-relevant area, then mark the exit. Do not open every drawer merely because an enemy may appear. The hotel’s tension comes partly from choosing when to search, and the route becomes safer when each stop has a reason.
Follow the service route downward
Service corridors often become the route to restricted objectives and the chapter exit. Check signage, keys, and room conditions instead of assuming that the stairwell leads straight out. Some routes require completing an interaction on the hotel floor before the transition becomes available.
If the available objective mentions a shipwreck, treat that wording as a transition clue. Check whether you have completed the prerequisite room interaction, collected the required item, or unlocked the relevant service passage. The Shipwreck chapter reference can then provide the next stage’s objective context.
The Mimic shipwreck location and chapter transition
The Mimic shipwreck location is not reached by selecting a random door in the hotel. It is the result of completing the hotel chapter’s required route, which means the transition should appear only after the necessary rooms and objectives have been handled. If you are searching for the exit, verify the hotel’s prerequisite list before exploring the entire building again.
Transition checklist
Use this checklist before leaving the hotel. It prevents the common problem of reaching an unusable passage without recognizing that a prior objective still needs completion.
- Complete the current objective marker in the guest-room route.
- Collect every required key or clue shown by the active task.
- Return to any locked service door that opened earlier.
- Complete the lower-floor or service-area interaction.
- Follow the marked exit route toward the shipwreck.
The Mimic shipwreck chapter: what changes after the hotel
The shipwreck chapter shifts away from the hotel’s room-and-key structure. Expect more branching navigation, tighter routes, and objectives that depend on searching unusual spaces. The transition itself may be short, but the new area rewards a different habit: identify safe landmarks before exploring narrow passages.
| Area | Hotel approach | Shipwreck approach |
|---|---|---|
| Navigation | Room objectives unlock doors | Branches hide routes and resources |
| Main threat | Unexpected encounters in corridors | More immediate danger along exposed paths |
| Key information | Keys and room clues | Environmental markers and objective clues |
| Best preparation | Track locked doors and collected items | Mark landmarks and conserve route options |
The shipwreck is also useful for confirming that the hotel chapter is finished. If you can enter the new area but an objective still points backward, the transition may be optional or gated rather than the point where your current task ends. Compare the active objective wording with the hotel’s final clue before assuming the route has failed.
The Mimic skull maze and map-reading strategy
The Mimic skull maze is a later location that should be approached with a different mental model from the hotel. The hotel is organized around identifiable rooms and functional doors. The skull maze is more disorienting, so landmark discipline replaces ordinary room-number memory.
Build a landmark system
Choose landmarks that cannot be confused with ordinary walls or repeated props: a distinctive skull shape, lighting pattern, floor mark, or unusual opening. Record each one with a simple direction note from the previous landmark. A compact notation such as “left at three-pronged skull” is often more useful than trying to sketch the entire maze.
| Maze feature | Navigation value | Practical use |
|---|---|---|
| Unique skull formation | Confirms a repeatable position | Return point for the route ahead |
| Lighting change | Marks a junction or elevation change | Separates similar corridor segments |
| Floor debris | Shows the direction of a previous passage | Helps reverse a route without guessing |
| Unusual opening | Suggests an objective or side route | Searches areas that look like dead ends |
| Door or gate | Often marks a controlled transition | Confirms progress toward the lair |
Do not rely on a perfect mental map
The skull maze map becomes useful when it records decisions rather than every step. Note the entrance, the first major junction, and each meaningful turn afterward. When a route loops, use the most distinctive landmark to correct your position instead of retracing every step from the beginning.
Community experience reports that players who mark landmarks tend to recover faster from loops, while players who rely on a single visual route often repeat the same dead ends. That pattern is practical rather than a guaranteed mechanic, so the map should be treated as a flexible navigation aid.
Connect the maze to the lair
The objective behind the skull maze is to reach The Mimic Omukade lair. The lair is therefore the destination, not an optional collectible hidden beside the maze. Before the final approach, verify that the required maze objective is complete and identify the last recognizable landmark before the entrance area.
The Skull Maze and Omukade lair reference can help place this route among other difficult locations, while the practical rule remains simple: complete the active objective, follow the distinctive route, and use the lair clue as your final destination check.
The Mimic Omukade lair route and combat preparation
Reaching The Mimic Omukade lair is the endpoint of the skull-maze route, but arrival does not remove the need for preparation. The route can expose you to threats during the approach, so consumables, equipment, and objective awareness matter before the final encounter area. Preparation should focus on the resources you can verify in your current run rather than speculative builds.
What to confirm before the lair
Check your current objective, inventory, and route position. Missing a required item can send you back through the skull maze, while entering with an incomplete objective may create unnecessary combat. Save consumables for the lair approach rather than using them during repeated exploration loops.
| Preparation category | Check before entering | Why it matters |
|---|---|---|
| Objective | The active task points toward the lair | Prevents arriving before the stage is ready |
| Key items | Required keys and clues are in inventory | Avoids a long return trip |
| Consumables | Healing resources remain available | Supports the final approach |
| Equipment | Current gear matches the expected threat | Reduces risk during narrow corridors |
| Route memory | Last distinct landmark is known | Makes retreat or correction faster |
Handle the final approach deliberately
Approach the Omukade lair by following the objective marker, not by wandering into every visible branch. If the route splits near the end, compare environmental details with the ones you recorded on the way in. The correct branch should be consistent with the landmark sequence, even if the surrounding corridors look nearly identical.
| Situation | Better response | Avoided mistake |
|---|---|---|
| You have not completed the maze objective | Return to the relevant clue or interaction | Entering the lair prematurely |
| The branch looks unfamiliar | Find a unique skull or lighting marker | Choosing solely by left or right |
| A resource is needed soon | Preserve it for the confirmed lair path | Spending everything on optional loops |
| The path narrows toward a gate | Follow the route continuation | Assuming every gap is an entrance |
The lair route rewards methodical checkpoints more than constant sprinting. Slow down whenever you need to reorient, but save the most dangerous resources for the point where the objective confirms you are progressing toward the lair.
Hotel map mistakes, shortcuts, and completion checklist
Most navigation problems in The Mimic Hotel map come from skipped bookkeeping rather than an impossible puzzle. Players often assume a locked door is permanently blocked, forget which room contained a clue, or continue exploring after the chapter has already opened a more direct route. A short checkpoint after every major objective prevents these errors.
Common mistakes and corrections
| Mistake | Why it costs time | Correction |
|---|---|---|
| Searching every guest room | Creates duplicate search time | Follow the active clue and required room |
| Forcing locked doors | Wastes supplies and attention | Record the lock and find its key source |
| Leaving before collecting required items | Forces a return through the same route | Run the transition checklist |
| Relying on visual similarity | Repeated hotel décor causes misremembering | Use function-based landmarks |
| Entering every skull-maze branch | Expands a linear route into confusion | Mark junctions and follow distinctive signs |
Completion checklist
Confirm the main hotel objective, collectible requirements, and door interactions before using the exit. Then verify that the shipwreck route is active. This checklist also serves as a clean handoff to later objectives, including the shipwreck chapter and the skull maze.
For a broader view of progression areas, the Storybook Lobby and chapter locations overview can help place the hotel in the wider route. Within the hotel itself, keep the sequence simple: clear the clue, unlock the next room, reach the service or lower route, and enter the shipwreck transition without delay.
Frequently Asked Questions
Where is the hotel exit in The Mimic?
The hotel exit is reached through the lower or service-area route after you complete the required room objectives, collect the necessary key items, and open the appropriate passage. Because the hotel contains several similar corridors, use the final clue or marked stair access to confirm the correct route instead of relying on the first stairwell you encounter.
Is the Shipwreck a separate chapter in The Mimic?
The shipwreck is reached as a transition from the hotel chapter and becomes the setting for the next objective sequence. It is best treated as a new location because its branching paths and environmental clues differ from the hotel’s room-and-key structure. Completing the hotel’s exit requirements is the essential first step.
Can The Mimic skull maze be mapped without missing turns?
You can navigate it more reliably by recording distinctive skulls, lighting changes, debris, and unusual openings instead of memorizing every step. A simple landmark-and-direction note is usually enough to recover from loops. The goal is not to recreate a perfect Skull Maze map, but to identify enough stable references to reach the lair efficiently.
Which route leads to The Mimic Omukade lair?
The Omukade lair lies beyond the skull-maze route, so you must follow the maze’s objective clues toward the correct exit rather than explore unrelated branches. Mark stable landmarks as you enter, complete any required maze interaction, and confirm that your active objective identifies the lair before committing to the final approach.