
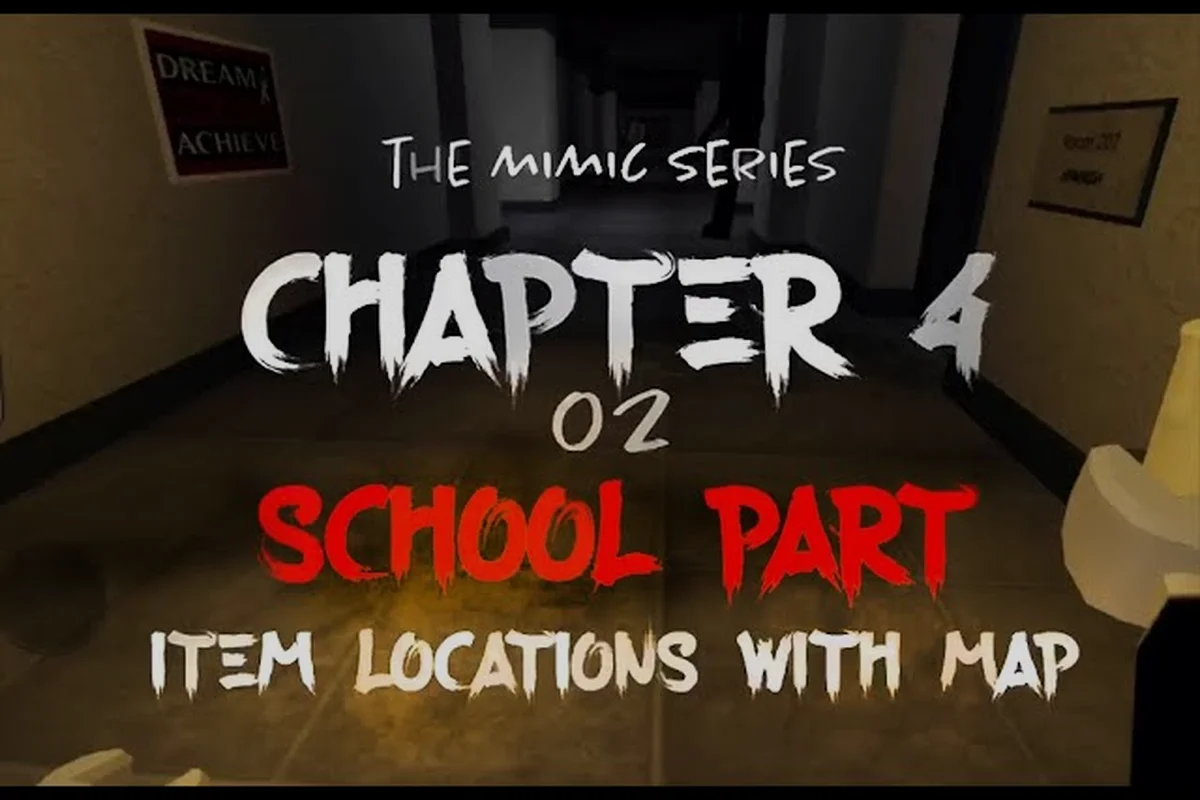
The Mimic key locations directly control access to early routes, so a missed key can prevent required objectives from being completed. This guide distinguishes fixed key spawns from randomized placements, helping players cross-check locked-door requirements, story items, journal notes, and hidden objects. Use the map to plan a room-by-room sweep before advancing, since finding one optional collectible may not unlock the route needed for the next chapter objective.
Key Locations Overview for Early Chapters
Keys in The Mimic serve several purposes beyond simply unlocking a visible door. Some clear shortcuts, some reveal additional rooms, and others unlock containers that hold objective items or journal entries. Because the early chapters contain multiple branching spaces, players often collect several keys before understanding which room becomes accessible.
The safest approach is to inspect every interactive doorway and keep track of where each key was found. Use the item description as one clue, but treat the surrounding room as the stronger clue: a key labeled with a school-related term usually belongs near classrooms or administrative rooms, while a key with a color may correspond to a colored marker elsewhere in the map.
| Item type | Main purpose | Best place to search | Placement pattern |
|---|---|---|---|
| Room key | Opens a specific early door | Desks, drawers, and isolated rooms | Fixed in many early rooms |
| Utility key | Reaches service or storage areas | Closets, offices, and back corridors | Fixed or semi-random |
| Objective item | Advances a chapter task | Story-relevant rooms and containers | Usually tied to a route |
| Note | Adds journal information | Tables, shelves, and desks | Often hidden among decorations |
| Hidden object | Rewards careful inspection | Edges of rooms and unusual props | Usually easy to overlook |
This broad pattern makes The Mimic key locations easier to remember: begin with the room that currently blocks progression, then work backward through doors, containers, and notes. The locations overview can help you connect each item with the broader early-game map.
Prioritize Route-Blocking Items
The most useful key is not always the rarest collectible; it is the one required for the next story beat. Before exploring side rooms, check your objective for the current chapter and identify the door it asks you to open. In early chapters, this approach prevents backtracking when the relevant key is located in a room that appears unrelated to the objective.
A reliable key-location checklist in The Mimic starts by separating story items from optional collectibles: keys that unlock the current objective route should be secured before chasing Mimic notes or hidden objects. For example, if the objective requires access to a specific chamber, inspect the desks, cabinets, drawers, and shelves in nearby rooms before leaving the area; the key needed for that chamber may be placed behind an ordinary piece of furniture rather than in the room that appears most relevant. This reduces backtracking, especially in early chapters, and keeps the route focused on the next required door.
-
Read the current objective before opening every new room.
-
Compare the objective wording with each key description you own.
-
Search desks, cabinets, drawers, and shelves before leaving a room.
-
Turn around at stairwells because doors often face the direction you entered from.
-
Revisit locked doors after finding a new key instead of assuming the route has changed.
Distinguish Keys From Decorative Clues
The Mimic hides objective items among ordinary room props, and similar-looking objects can distract players from the usable pickup. A key must be collected and identified through the inventory before it can be applied to a door. Objects that merely resemble keys may instead lead toward notes, environmental details, or The Mimic hidden objects needed for optional discoveries.
Watch for subtle visual changes such as an object gaining a brighter highlight, sitting at an unnatural angle, or being separated from a matching set. If nothing responds to interaction, leave it alone temporarily and scan the room again from a different angle. This technique is especially useful in crowded classrooms and storage rooms.
The Mimic Locked Doors Guide for Fixed Room Access
The early map uses locked doors to guide investigation rather than stopping progression permanently. A door normally indicates that the relevant item is nearby, although semi-randomized placements can make the search less exact. The door’s environment is therefore more useful than its appearance alone.
| Door clue | Likely search area | Room-matching strategy |
|---|---|---|
| Administrative label | Classroom or staff room | Check desks and filing cabinets |
| Storage or service tag | Basement, utility room, or closet | Inspect shelving and wall cabinets |
| Colored symbol | Room with a matching colored marker | Compare the symbol, not the color alone |
| Character-related clue | Office connected to that character | Read nearby notes for context |
| Unlabeled key | Any nearby utility container | Test only after collecting candidate items |
Keys found in early rooms tend to have fixed spawn points, while later containers may be selected from a limited placement pool. Based on community reports, the broad room remains consistent even when an individual container changes, so you should check the most likely cabinet and desk in that room before searching every prop.
Read the Locked Door in Context
The objective text often names a place rather than an item. A mission asking you to find something inside the library may lead to a key discovered in the staff room next door. This is why The Mimic locked doors guide should be treated as a connected search route: identify the destination, identify the room beside it, and inspect the furniture that plausibly belongs to that room.
Start with the nearest matching door and work outward in a spiral. Check surfaces at roughly waist height, then low shelves, then high corners. Many players overlook items because they remain at the edge of the interactable field, especially when a monitor, cabinet, or wall decoration occupies the center of the view.
Use Inventory Details as Route Clues
Keys that explicitly name a location usually point toward a destination. Keys that name an object or person may instead be used on a container, safe, mailbox, or personal belonging. Matching the noun to the environment helps separate the two categories and prevents wasted attempts at unrelated doors.
For broader context on the item types involved, compare this route with The Mimic item guide. It can clarify whether an object belongs in your inventory as a usable key, a collectible, or a story item required by the current chapter.
The Mimic Objective Items and Required Story Progression
Objective items usually sit behind or beyond locked doors, which creates a natural chain: find a key, reach a room, collect the required item, and return or continue onward. Because some objective pickups are visually similar to scenery, players should interact with every plausible prop in a story room rather than trusting color alone.
| Progression clue | Objective type to inspect | Likely container or placement |
|---|---|---|
| Deliver or retrieve request | Chapter-specific story item | Desk, safe, locker, or special prop |
| Unlock or escape instruction | Key tied to a new route | Door-adjacent room or connected corridor |
| Story document request | Note or manuscript | Reading desk, shelf, or drawer |
| Character-specific request | Belonging or clue | Character office or private room |
| Optional investigation | Hidden object | Unusual or poorly lit prop location |
The Mimic objective items are the safest priority because missing one can stop a required task, while decorative collectibles can be revisited later. Read the exact wording of the task, because similar objectives may ask for different objects in nearby rooms. If the prompt mentions a person’s name, search their associated space and examine personal items rather than communal furniture.
Trace the Objective Chain
A chapter objective often contains several links. You may need a note to learn which locked door matters, then a key to reach a classroom, and finally a document or tool inside that classroom. When progress stalls, draw the chain in order: current requirement, blocking door, probable source room, and destination room.
| Current situation | Best next action | Reason |
|---|---|---|
| Door blocks a named destination | Search rooms adjacent to it | The key is commonly placed nearby |
| Key exists but door still rejects it | Confirm item type and room | Some doors need another objective item |
| Document was found but task remains incomplete | Return to the requester | Delivery may be a separate step |
| No door is visibly blocked | Search desks and story props | Objectives can require investigation |
Preserve Story Items Immediately
Do not leave a required item in a room after finding it unless the task explicitly requests that action. Pick it up, read its description, and compare it with the objective wording. This simple habit prevents avoidable backtracking and also reveals whether the item must be delivered, installed, or used at a specific destination.
The Mimic Notes Locations and Journal Guide
Notes are among the most overlooked objective items because many are small, deliberately understated, and surrounded by ordinary paper objects. A useful The Mimic notes locations search targets surfaces associated with reading, work, and recordkeeping instead of relying on random wandering.
| Note setting | Common hiding place | Nearby clue |
|---|---|---|
| Classroom | Teacher’s desk or shelf | Books, papers, lesson materials |
| Office | Desk drawer or filing cabinet | Records, folders, writing tools |
| Library | Reading table or catalog cabinet | Open books and stacked documents |
| Storage room | Clipboard, crate, or shelf | Work orders or maintenance notes |
| Character room | Personal shelf or bedside table | A private possession or letter |
The Mimic journal guide should be read as a collection route rather than a separate puzzle. Some journal entries may clarify objectives, identify characters, or reveal environmental symbols. Others may simply enrich the narrative, but they still deserve careful inspection because a note can point toward a hidden key location.
Search by Surface Type
Approach the room in layers. First scan horizontal reading surfaces, such as desks and tables. Next inspect storage surfaces, including drawers, cabinets, and shelves. Finally, look behind or beside larger props and near the room’s corners. This sequence is faster than random movement because it follows where a placed note is likely to have been positioned.
Community reports indicate that notes tend to be attached to context-appropriate props, while some optional pages may appear in less obvious rooms. If a document is absent from a desk, check nearby shelves and side rooms before assuming it has been skipped.
Use Notes to Cross-Check Story Items
A note may mention a color, room name, person, or unusual object that matches a key description later in the chapter. Record those details because they can resolve ambiguous keys. The story and lore overview provides useful background for understanding which characters and locations matter when interpreting these documents.
Do not treat every environmental phrase as a literal instruction, however. Some notes function as atmosphere or foreshadowing, while others directly alter the order of your objectives. Compare each clue with the current task and the room’s visible props before acting on it.
The Mimic Hidden Objects and Collectible Search Method
The Mimic hidden objects share the same underlying challenge as key hunting: the game presents a meaningful item in a space already filled with scenery. Success comes from slowing down at suspicious spots, checking edges, and comparing objects that appear to form a set.
| Search pattern | What to inspect | Common mistake |
|---|---|---|
| Grouped props | Missing or displaced member | Assuming every visible item matters |
| Desk clutter | Paper beneath or beside the main prop | Scanning only the prop’s center |
| Wall decorations | Low corners and narrow gaps | Ignoring the room boundary |
| Storage shelves | Rear edge or lower level | Checking only eye-level shelves |
| Mechanical rooms | Pipes, panels, and small tools | Overlooking non-key interactables |
Start from contrast. A paper note on a dark shelf may be obvious, while a brass key beside similarly colored tools can disappear. A small shadow at the base of a cabinet often indicates an object that has been placed close to the wall.
Inspect with a Deliberate Grid
Divide the room mentally into quadrants and sweep from left to right, top to bottom. Check objects at the boundary between quadrants, because items positioned slightly off-center often escape a casual glance. Move close enough to inspect the floor and lower surfaces, then rotate the view before leaving each corner.
This grid method is especially effective for semi-random pickups, which may change containers even though their room remains fixed. If the same room has several cabinets, check every eligible container once rather than repeatedly circling the most obvious one.
Document Optional Finds Immediately
Mark notes, manuscript pages, and unusual objects as soon as you collect them. Some discoveries alter later search priorities, and a quick inventory check helps distinguish permanent progress from optional completion. The hidden-details guide can help identify symbols and environmental references that look decorative at first glance.
A Reliable Chapter-by-Chapter Search Route
A repeatable route is more valuable than memorizing every individual prop, because semi-random placement can change which container holds a pickup while preserving the room. For example, if a Mimic key is not beside the usual desk or cabinet, check the other containers in that room before leaving; the key may still unlock the next locked door, but searching an entirely different chapter would waste time. Apply the same process to journal notes and other story items: inspect the room’s plausible hiding places, note whether the pickup is absent, and revisit nearby containers if the objective has not updated. This makes missing-item troubleshooting faster without assuming one exact prop location.
Step 1: Read the Current Objective
Write down the exact destination or item named in the task. Circle key nouns such as a room, a person, or a physical object. If the objective requests a document, check desks and shelves before opening random doors, because the clue may already be nearby.
Step 2: Identify the Blocking Door
Find the door that prevents access to the objective. Read its label or examine the lock color and shape. Compare that information with the room’s key description, since matching names and symbols are stronger clues than generic color assumptions.
Step 3: Search the Adjacent Rooms
Search the room directly beside the door, then the one across the corridor, then connected classrooms or offices. Inspect drawers before shelves and containers before open floor props. This path reflects the early chapters’ tendency to place progression keys close to the route they unlock.
Step 4: Check for Semi-Random Placement
If the obvious container is empty, search other eligible containers in the same room rather than leaving immediately. Early objectives may move between fixed desks, cabinets, or shelves, and community testing suggests that the room itself is usually more consistent than the exact container.
Step 5: Revisit Every Missed Door
After collecting a new key, return to locked doors you already encountered. Try it immediately and record the result. Several doors can share the same room category, and the newest item may fit a door you passed during an earlier search.
Common Mistakes That Delay Key Collection
The most common issue is searching with an objective too vague. If the task says to investigate a location, players may wander the entire map instead of focusing on the door named in the room. Another frequent mistake is assuming a visually similar prop is interactive; approach it directly and confirm whether the prompt changes.
Do not spend excessive time on already opened containers unless a room has only one remaining candidate. Early doors usually contain ordinary background materials, while objective containers receive stronger visual cues. If you are unsure whether an item is a key, compare it against The Mimic objective items and story items checklist.
Finally, do not abandon a locked door after finding a key that does not fit. Many chapters contain multiple keys with similar names, and the correct item may be revealed through its description rather than its color. Keep unmatched keys in the inventory instead of selling or discarding them.
Frequently Asked Questions
Are The Mimic key locations fixed in the early chapters?
Many early keys occupy fixed spots in specific desks, cabinets, or shelves, but some pickups use a limited semi-random placement system. Community reports indicate that the containing room usually remains consistent even when the exact container changes. If the first container is empty, check nearby eligible furniture before abandoning the room.
Can I open a locked door without finding its key first?
Usually, no. Locked doors need a matching key or a required objective item, although the objective itself may be hidden in a nearby room. Read the door prompt carefully, because a generic lock may need an item obtained from a story interaction rather than a conventional key.
Where should I look for notes and journal pages?
Notes commonly appear on desks, reading tables, shelves, clipboards, and filing cabinets in areas associated with schoolwork or administration. The best The Mimic notes locations depend on the current chapter, so examine every paper-like prop and compare its surroundings with the journal entry being requested.
Are hidden objects necessary for chapter completion?
Most hidden objects are optional collectibles, but some can support objectives, lore discoveries, or journal entries. Complete the required key route first, then inspect corners, unusual prop groupings, lower shelves, and room boundaries. This prevents optional searching from distracting you from a blocked progression path.
What should I do when a key appears in the wrong room?
Do not assume the item is a mistake. Keys can be deliberately placed away from their doors, and semi-random placement may create an unusual pairing. Read the description, test it on nearby locks, and check whether it opens a container instead of a door before returning to the location where you found it.